Multi-Line Axis Teach Workflow
This workflow explains how to correct multiple toolpath points using the Axis Teach workflow.
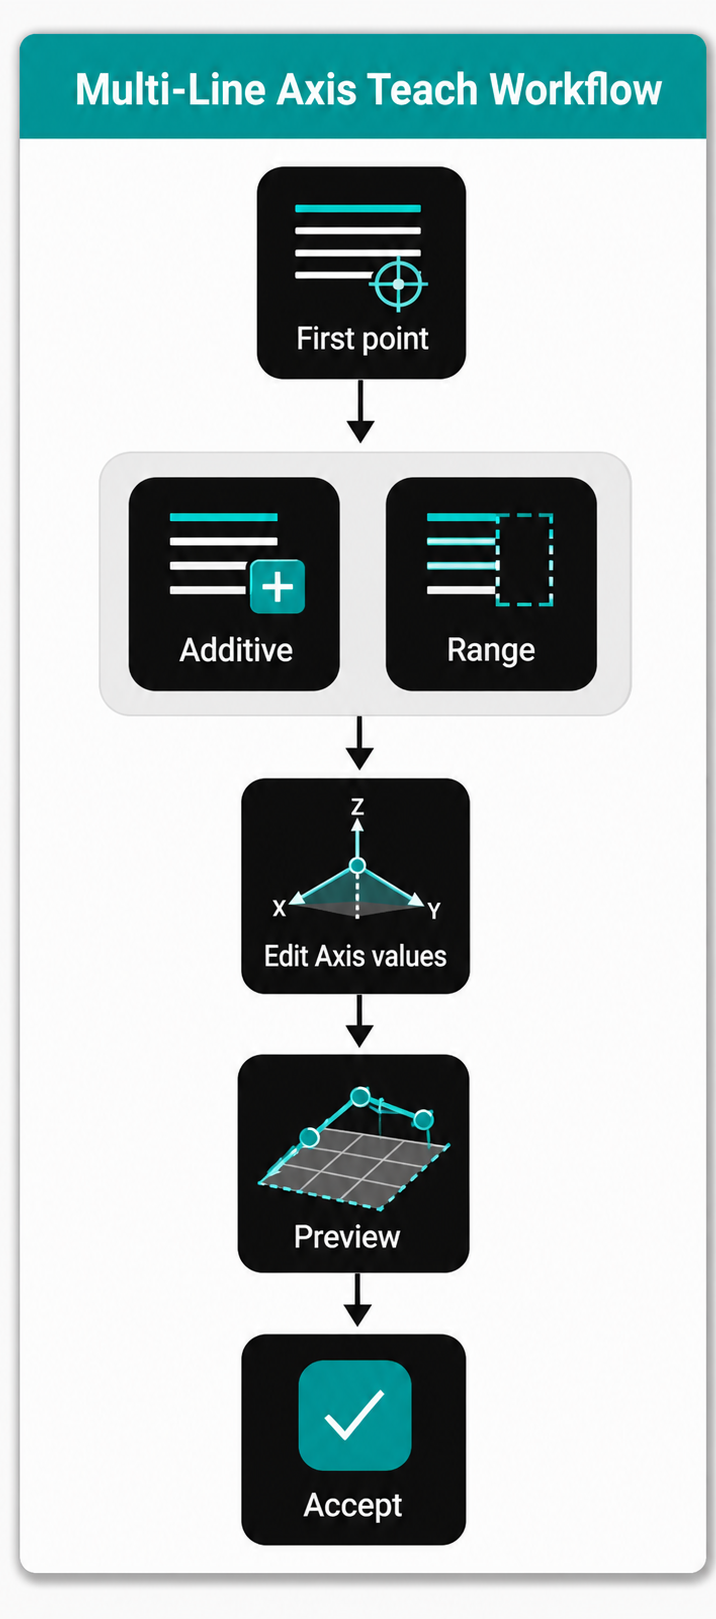
Workflow Steps
Step 1: Select the point
Use Single-Point Selection. You can select a line from the NC Editor (for example, a linear point or regshape) or a point from the 3D Viewer (click the point directly).
Step 2: Select multiple lines
Use CTRL (Additive) and/or SHIFT (Range) with Multi-Line Selection.
Step 3: Edit the axis correction values
Use the Axis Teach Panel to enter the required axis offsets or correction values.
The selected points are updated as a preview before the NC program is modified.
Step 4: Preview the transformed toolpath
Inspect the preview in the 3D Viewer using Axis Teach Preview and verify that the selected toolpath section follows the expected correction.
Step 5: Accept Axis Teach changes
When the preview is correct, confirm the changes in the Axis Teach Panel.
All selected points are updated simultaneously in the NC program.
Workflow Multi-Line Axis Teach
Operator insights
- Multi-line Axis Teach is used when several selected NC points need the same axis-based correction.
- Axis Teach modifies the selected points based on the defined axis correction values.
- The preview toolpath allows you to verify the result before modifying the NC program.
- If the preview result is not correct, adjust the axis correction values or change the selected points.
- Changing the selection or clearing the Axis Teach values automatically cancels the preview.
- Always inspect the updated toolpath in the 3D Viewer before confirming the correction.
- Use Axis Teach when the correction should follow an axis-based adjustment, not a pivot-based transformation.