Regshape Attributes Panel
Shopfloor Assistant supports regshape logic for a wide range of structured machining features such as holes, slots, rectangles, hexagons, and keyholes.
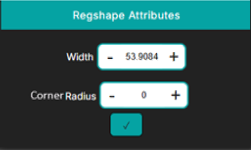
The Regshape Attributes Panel is used to inspect and modify attributes of a regshape block. A regshape represents a structured group of program lines that together define a geometric feature.
The panel is located at the bottom side of the NC Editor and becomes active whenever a regshape block is selected.
This panel allows users to edit regshape-level parameters while preserving the internal structure and relationships of the block, with every change instantly synchronized across the NC Editor and the 3D Viewer.
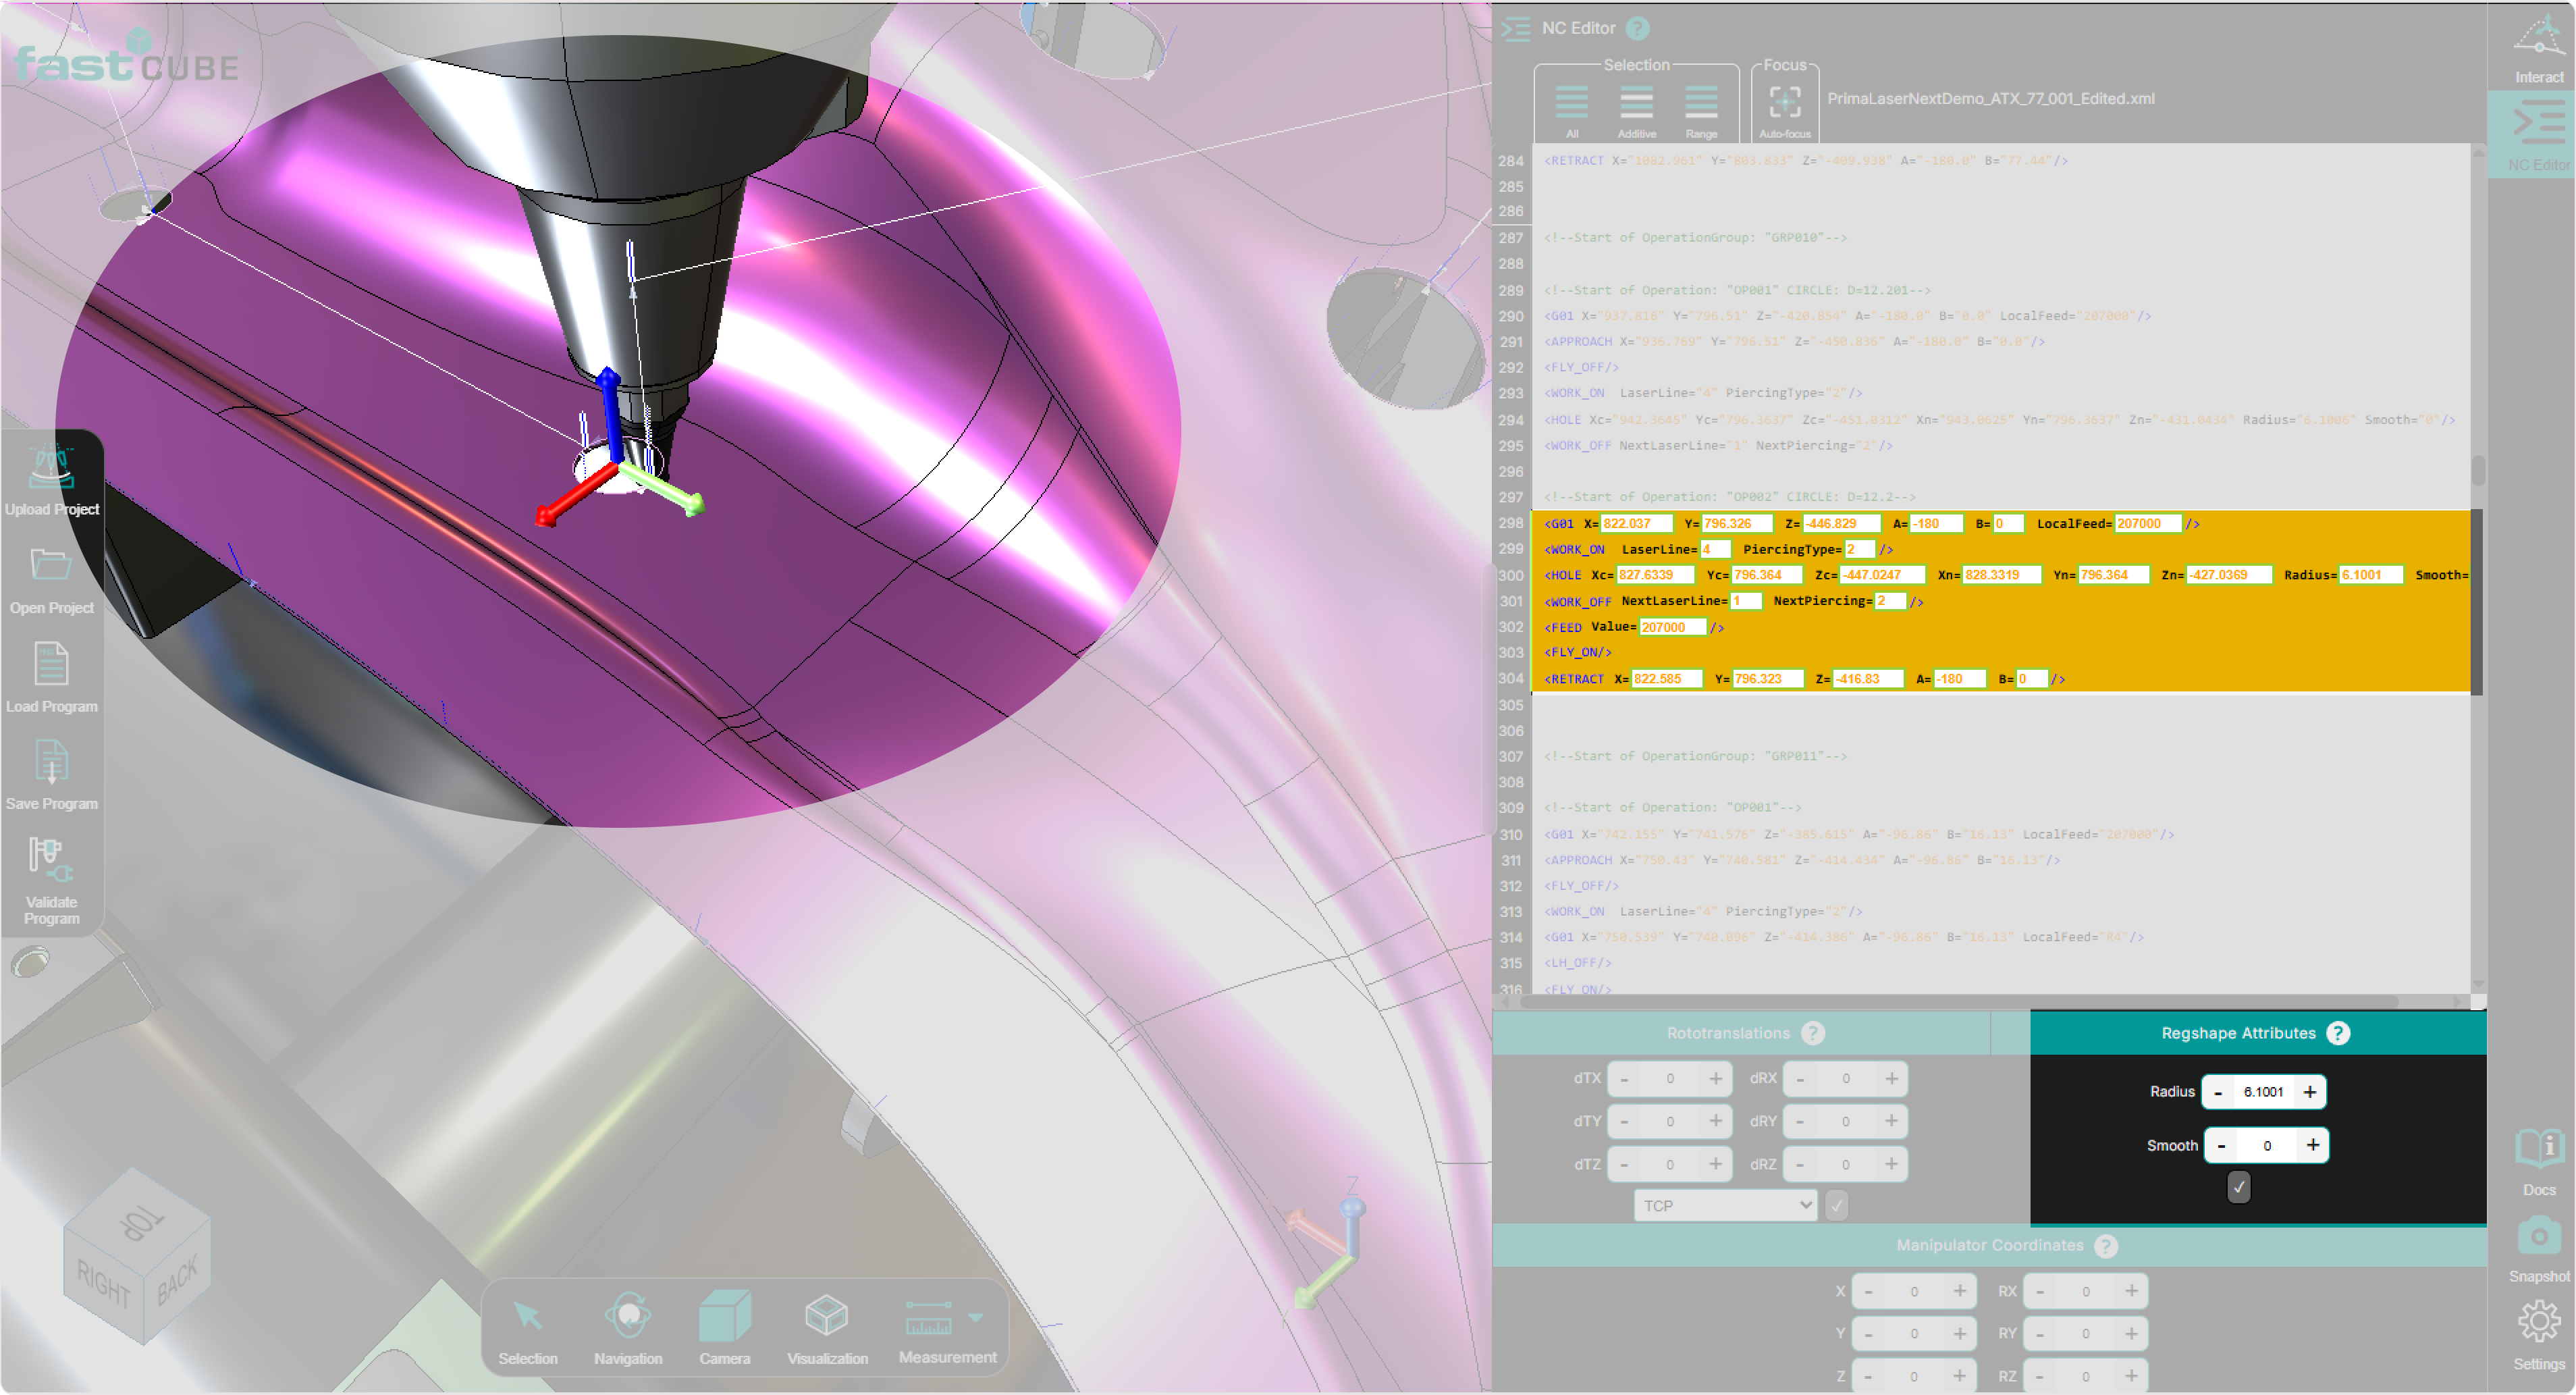
Key features
- Bi-directional updates - Any modification is instantly reflected in both the NC Editor and the 3D Viewer.
- Context-sensitive parameters - Parameters adapt dynamically based on the selected regshape type.
How to Use the Regshape Attributes Panel
Step 1: Select a regshape block
Select a regshape line in the NC Editor or click any point belonging to the regshape in the 3D Viewer.
This activates the Regshape Attributes Panel and highlights the entire regshape structure.
Step 2: Review the attribute fields
The panel automatically displays only the parameters relevant to the selected regshape type:
- hole
- slot
- rectangle
- keyhole
- hexagon
This ensures you see only meaningful controls for the feature you are editing.
Step 3: Modify the desired attributes
Enter new values for the geometric parameters, for example:
- Radius
- Length
- Width
- Corner Radius
- Smoothness
Values can be typed directly into the fields or adjusted incrementally.
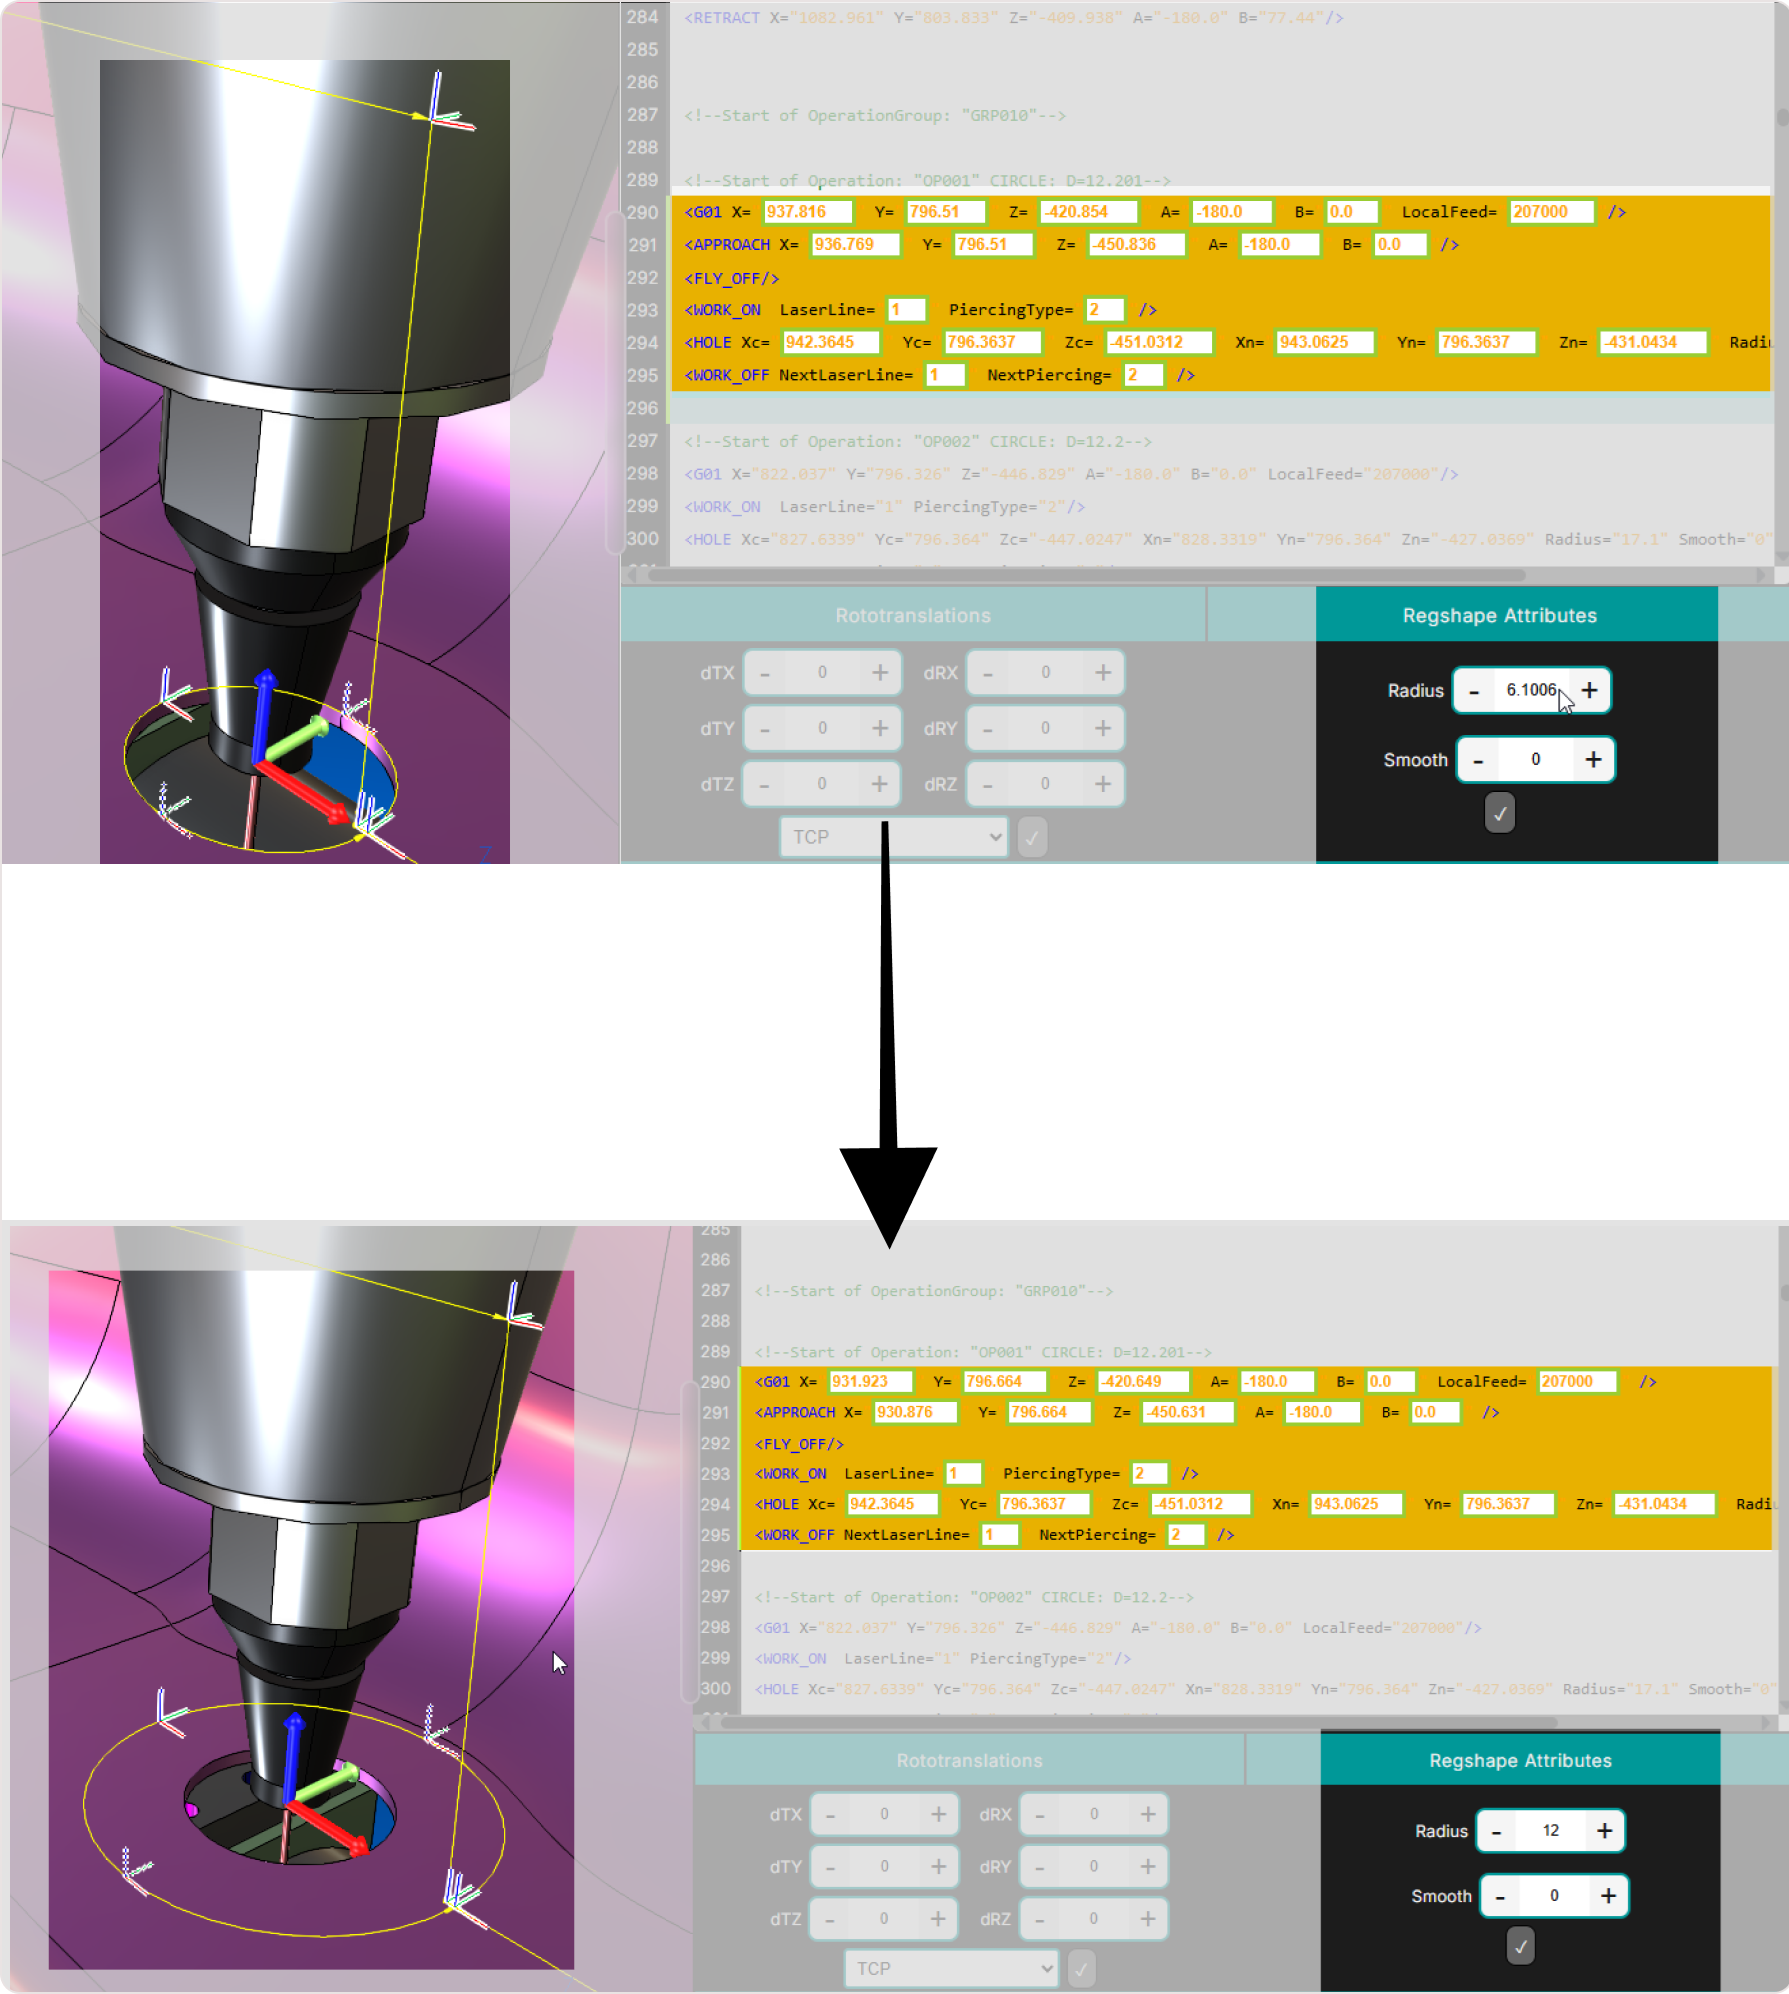
Step 4: Press Accept to apply changes
Press Accept to apply changes.
Your modifications are instantly updated:
- the NC Editor reflects the updated regshape block
- the 3D Viewer updates the geometry visually
- the machine and Manipulator move to the regshape center for spatial context
Step 5: Inspect the updated shape
Rotate, zoom, or pan in the 3D Viewer to verify that:
- geometry matches your intended dimensions
- structured paths are consistent
- transitions (approach and retract) remain correct
Regshape-specific attributes
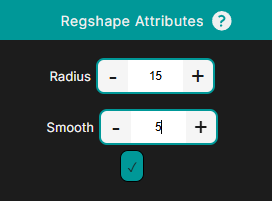
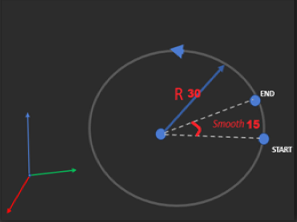
For hole
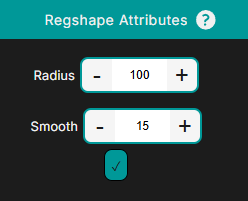
- Radius - defines the circle’s radius
- Smoothness - controls the overlap of the laser cutting trajectory
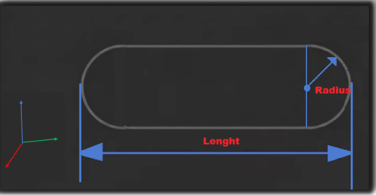
For slot
- Length - total length of the slot
- Radius - radius of the slot’s circular ends
For rectangle
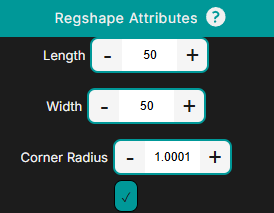
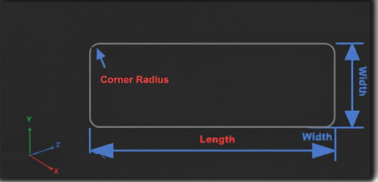
- Length - horizontal dimension
- Width - vertical dimension
- Corner Radius - radius of rounded corners
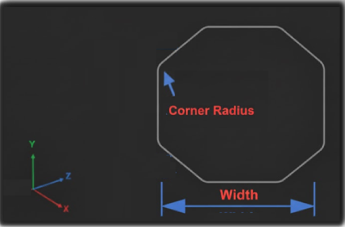
For hexagon
- Width - distance between two opposite faces
- Corner Radius - rounding of the corner vertices
Operator insights
- Regshape editing applies to the entire feature (hole, slot, rectangle, hexagon), ensuring geometric consistency across all points.
- Only relevant parameters are shown. The panel adapts automatically to the regshape type, reducing confusion and preventing invalid edits.
- All updates are bi-directional. Changes appear instantly in both the NC Editor and the 3D Viewer, making it easy to verify adjustments visually.
- Use regshape editing for structured features. It is faster and more accurate than editing individual points, especially for shapes with symmetry or repeating geometry.
- Press Accept after each change. This ensures values are committed and accurately reflected in the NC code and 3D Viewer.
- Workflow for Regshape Editing - Regshape Editing Workflow.