Auto-Focus Function
Purpose
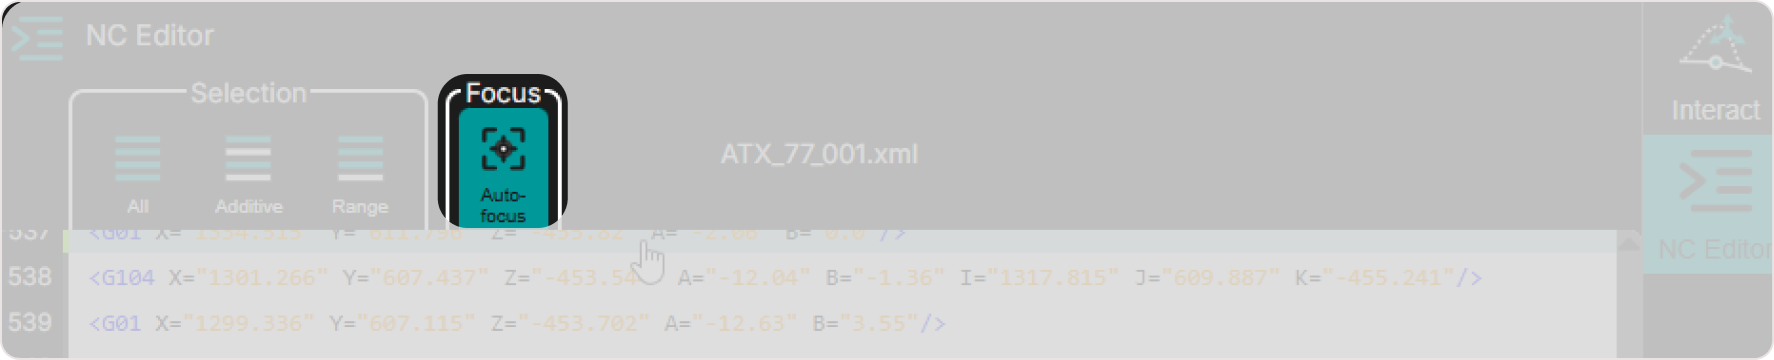
Auto-Focus helps you quickly bring the selected point into view in the 3D Viewer.
When Auto-Focus is enabled, the 3D Viewer automatically centers on the currently selected NC point, making it easier to see exactly where you are working.
This is especially useful in larger scenes, where manual camera navigation can slow down editing and inspection. The 3D Area is used to preview toolpaths and frames, so keeping the active point in view helps maintain spatial awareness while you work.
What Auto-Focus Helps You Do
Use Auto-Focus to:
- keep the active point visible in the 3D Viewer
- reduce manual zooming and panning during editing
- maintain a clear visual connection between the NC Editor and the 3D Viewer
This is useful when you are stepping through a program, checking individual points, or preparing the next edit.
How Auto-Focus Works
When you select a line in the NC Editor, the corresponding point is highlighted in the 3D Viewer. If Auto-Focus is enabled, the camera automatically adjusts to center on that point.
When Auto-Focus is enabled, the 3D Viewer automatically adjusts the camera whenever a new NC line is selected.
💡 Tip: Auto-Focus changes only the camera view in the 3D Viewer. It does not modify the program and does not change the selected point.
Step 1 — Select a Line in the NC Editor
Select a line in the NC Editor. The associated toolpath point becomes the active selection.
Step 2 — Automatic Camera Adjustment
If the Auto-Focus button is enabled in the NC Editor toolbar, the 3D Viewer automatically:
- zooms in on the selected point
- centers the camera around it
- adjusts the view for optimal visibility
This gives you an immediate, unobstructed view of the point you are editing without manually navigating the camera.
What You Will See
When Auto-Focus is active:
- the selected line remains active in the NC Editor
- the corresponding point stays visible in the 3D Viewer
- the camera adjusts automatically, so you do not need to search for the point manually
This makes it easier to continue with inspection, preview, or editing. The 3D Area is intended to support visual changes to toolpaths and frames, so this automatic camera update helps keep the working context clear.
When to Use Auto-Focus
Auto-Focus is especially useful when:
- the scene is large or visually dense
- you move through many points one after another
- you want to check the exact location of the selected point before editing
Because the editing environment synchronizes modifications with the 3D area in real time, keeping the selected point centered can make the workflow easier to follow.
Turn Auto-Focus ON or OFF
You can toggle Auto-Focus ON or OFF depending on how you prefer to work:
- turn it ON if you want the system to center the selected point automatically
- turn it OFF if you prefer to navigate the camera manually
This gives you flexibility between guided navigation and full manual control.
Operator insights
- Auto-Focus helps maintain spatial awareness when navigating large programs.
- You can toggle it ON or OFF depending on whether you prefer manual navigation or automatic centering.
- When working with multi-point selections, Auto-Focus centers on the first selected point, keeping the manipulator clearly visible.
- Combine Auto-Focus with the 3D Viewer to keep the active point visible before preview or editing.